Zelda: Link's Awakening: Bottle Grotto and Finding The Power
Por um escritor misterioso
Descrição
Dungeon number two of Link's quest - Continuing part three of our Zelda: Link's Awakening walkthrough we head inside the s

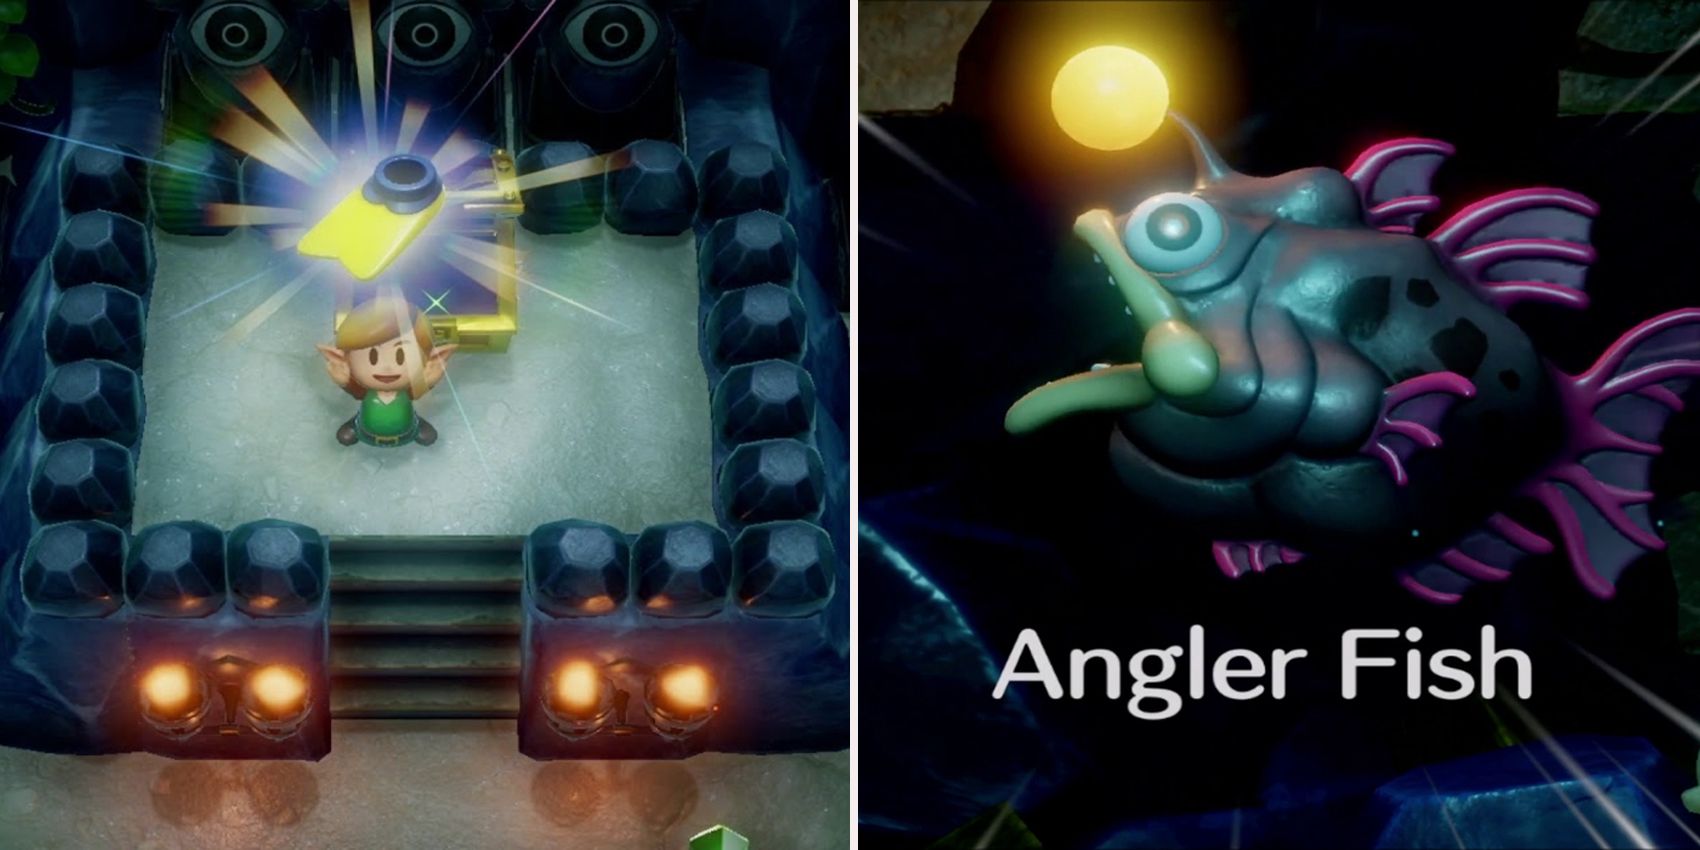
The Legend of Zelda: Link's Awakening DX - Part 5 - Bottle Grotto
Zelda: Link's Awakening: Bottle Grotto and Finding The Power

Bottle Grotto Walkthrough, Links Awakening Bottle Grotto Guide - News

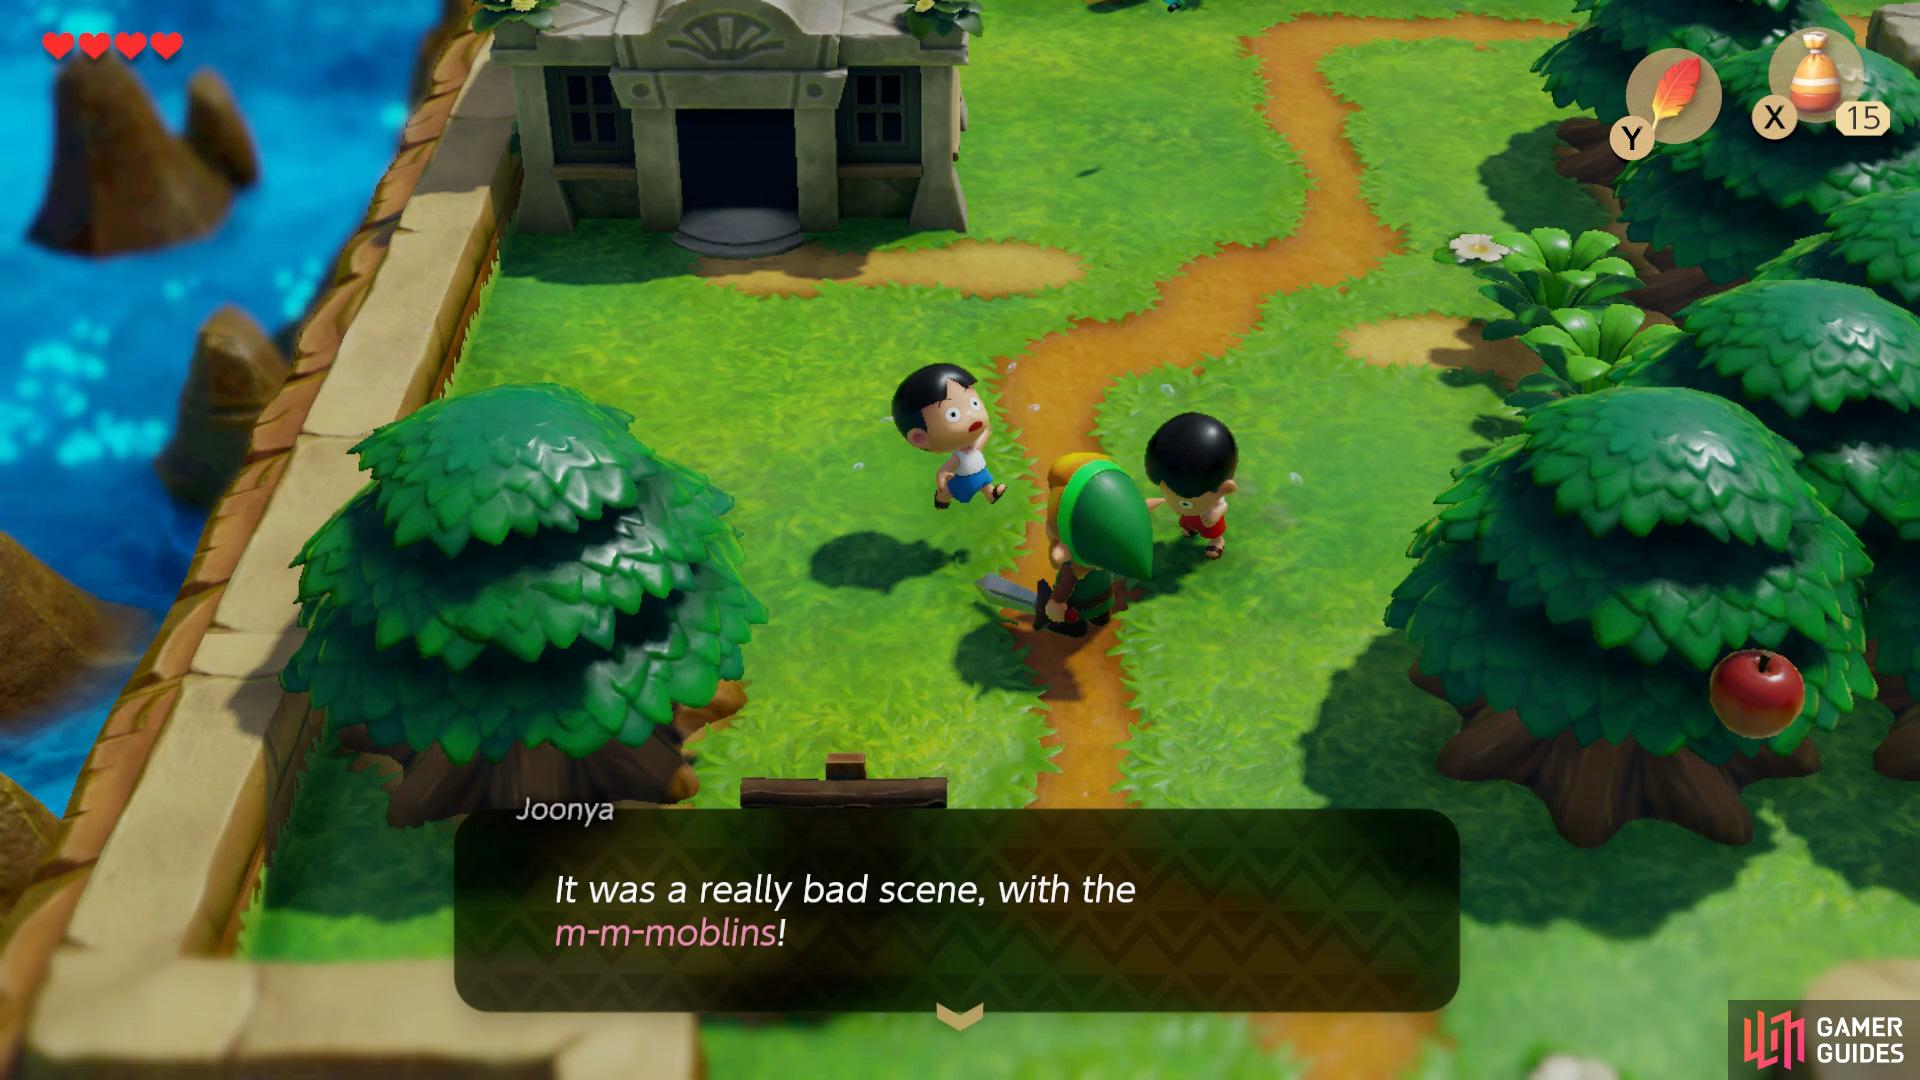
Link's Awakening' Dungeon by Dungeon: Bottle Grotto

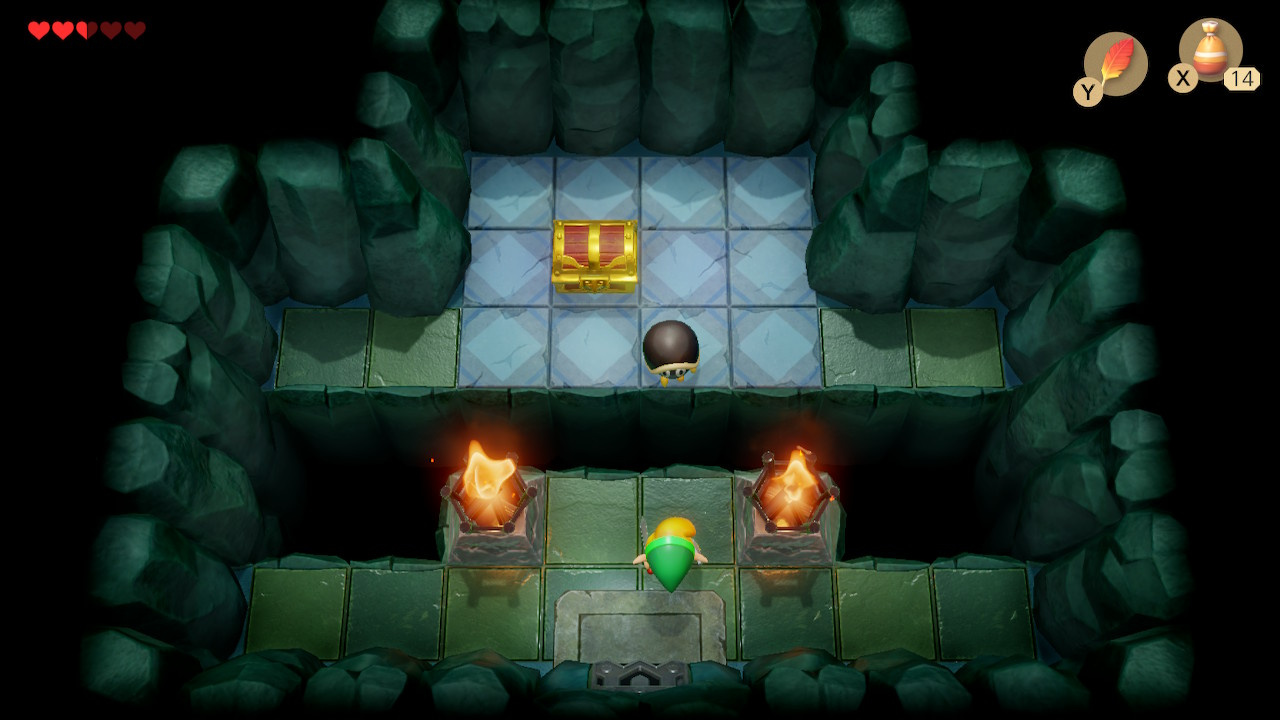
Bottle Grotto - Conch Horn - Walkthrough
Link's Awakening Walkthrough - Bottle Grotto - Zelda Dungeon

Link's Awakening walkthrough - Bottle Grotto - Zelda's Palace
:no_upscale()/cdn.vox-cdn.com/uploads/chorus_asset/file/19187100/Pasted_Image_9_10_19__2_07_PM.png)
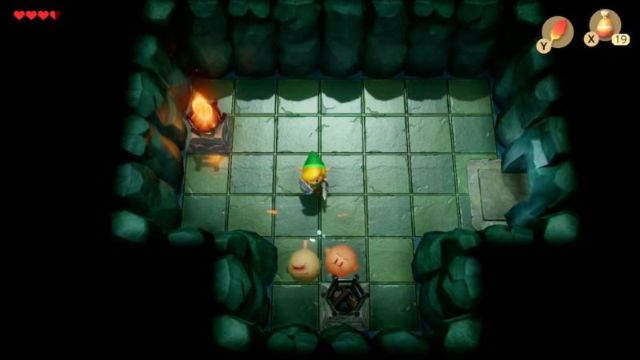
Link's Awakening Bottle Grotto walkthrough and maps - Polygon

Zelda Link's Awakening Switch Part 4 - Bottle Grotto, Power
Tail Cave to Bottle Grotto - Conch Horn - Walkthrough
/cdn.vox-cdn.com/uploads/chorus_asset/file/19187087/Screen_Shot_2019_09_10_at_2.04.56_PM.png)
Link's Awakening Bottle Grotto walkthrough and maps - Polygon
Bottle Grotto - Conch Horn - Walkthrough
de
por adulto (o preço varia de acordo com o tamanho do grupo)